Microsoft’s documentation goes to great lengths in order to explain how we can migrate Power Apps Portal data from one environment to another by using the Configuration Migration Tool, but it doesn’t quite go as far as explaining how to re-point the already-provisioned portal to your newly migrated data upon first deployment.
Follow the below steps once you’ve moved your data in order to see your changes come to life!
1a. Locate via Dataverse
Navigate to Apps and find your Portal app from the list. Click on the three dots, and choose ‘Settings‘.

Select the ‘Administration‘ option which will open a new tab.
1b. Locate via Power Platform Admin Centre
Navigate to the Resources tab which will expand to show a Portals option, and find your Portal app from the list.

Click on the three dots, and choose ‘Manage‘.
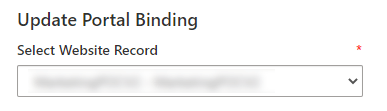
2. Update Portal Bindings
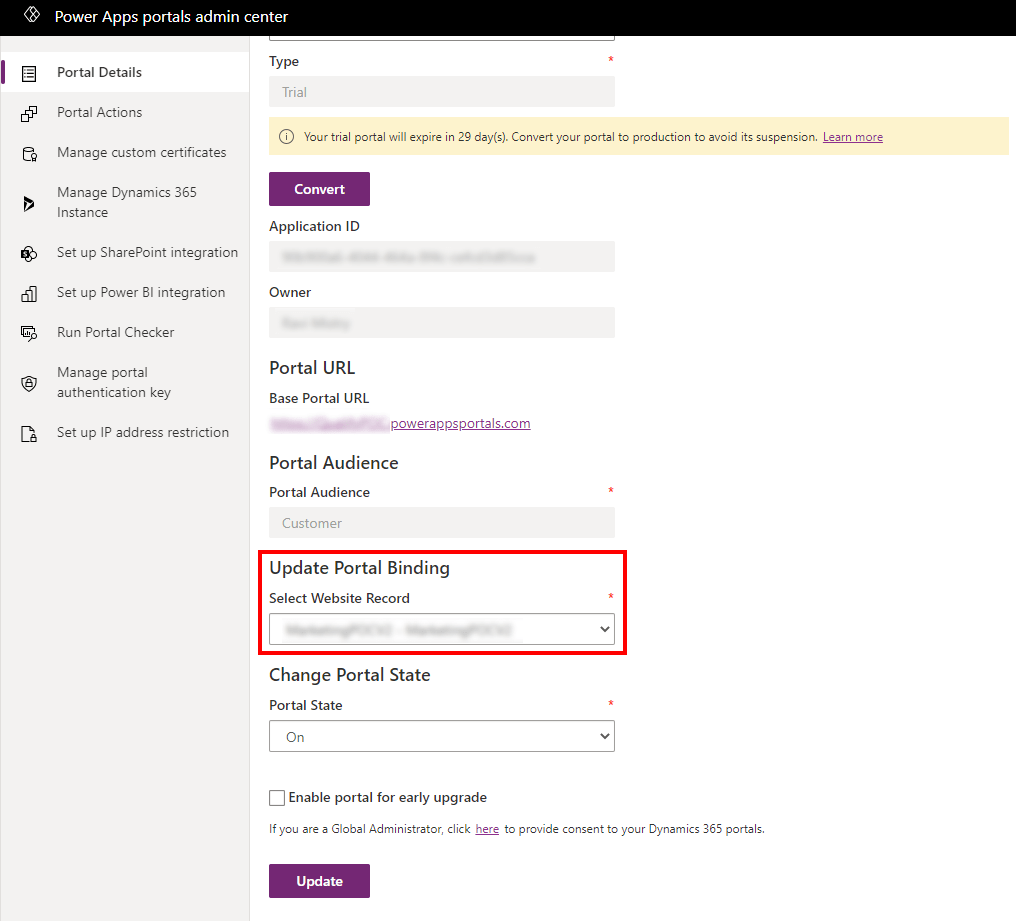
Stay on the ‘Portal Details‘ tab and scroll down to ‘Update Portal Binding‘ and choose the newly migrated Website Record from the list.
