Skip to content
AaronKGumbs
Tag:
Canvas Apps
Calculate ‘Total Days This Month’ Using Power Fx
Canvas Apps
,
Power Apps
,
Power Fx
,
Power Platform
,
The Microsoft Cloud
Handling Missing User Profile Photos in Canvas Apps
Canvas Apps
,
Power Apps
,
Power Fx
,
Power Platform
,
The Microsoft Cloud
Create a Rolling Calendar Year in Canvas Apps
Canvas Apps
,
Power Apps
,
Power Fx
,
The Microsoft Cloud
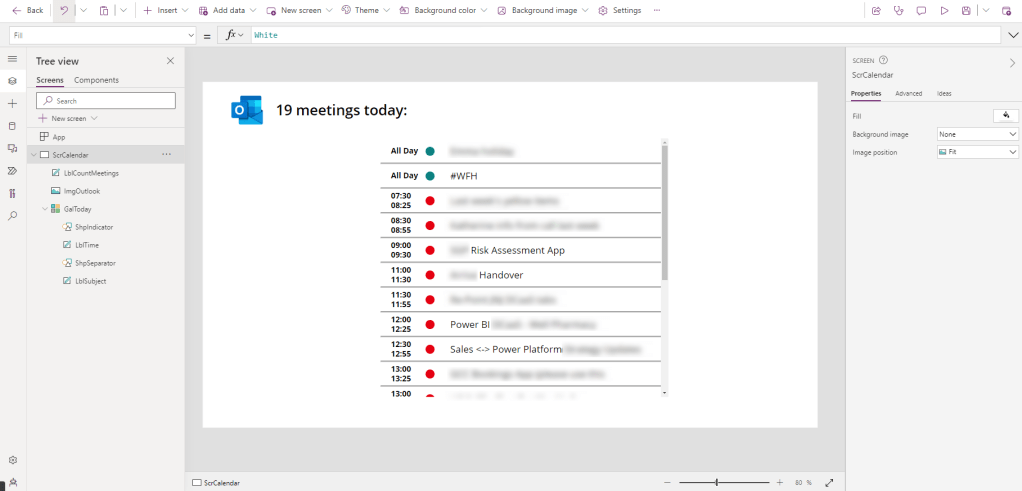
Visualise Your Day’s Meetings in Canvas Apps
Canvas Apps
,
Power Apps
,
Power Fx
,
Power Platform
,
The Microsoft Cloud
Choosing The Right Data Source for Power Apps & Power Automate
Canvas Apps
,
Dataverse
,
Model-Driven Apps
,
Power Apps
,
Power Automate
,
Power Platform
,
The Microsoft Cloud
Reduce Columns Created in a Collection in Canvas Apps
Canvas Apps
,
Dataverse
,
Power Apps
,
Power Fx
,
Power Platform
,
The Microsoft Cloud
How to convert UTC into Your Local Timezone in Canvas Apps
Canvas Apps
,
Power Apps
,
Power Fx
,
Power Platform
,
The Microsoft Cloud
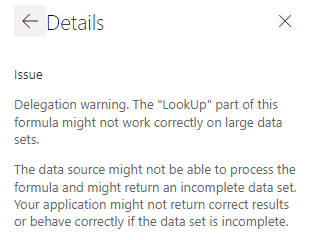
Delegation in Canvas Apps
Canvas Apps
,
Power Apps
,
Power Fx
,
Power Platform
,
The Microsoft Cloud
Previous Page
1
2
3
Next Page
Subscribe
Subscribed
AaronKGumbs
Sign me up
Already have a WordPress.com account?
Log in now.
AaronKGumbs
Subscribe
Subscribed
Sign up
Log in
Report this content
View site in Reader
Manage subscriptions
Collapse this bar