
If you manage a suite of Power Apps internally, sometimes you need to get information to individuals fast and without making a change to the software! Whilst there are always alternatives such as sending a Teams message or an email, often the best route is to actually tell the end user within the app itself next time they open the app. I’ve had this a few times recently in ‘operations’ settings:
- When a date specific event is upcoming and your end users may not be sure what to do with their data entry, such as a bank holiday in a time entry system.
- When the ‘window’ into the application receives a software update and causes a slightly different user experience. Especially if your Power App is a Teams tab – you have to think about the screen, OS, Teams, and Power Apps scaling before you even think about the dimensions of your controls!
- When a known bug causes issues for multiple issues, you may want to inform your users that you are aware and that a fix is in progress.
- When a system may require maintenance and you plan to take it offline or reduce its functionality temporarily.
- When you simply want to notify end users of important bulletin items.
The notification functionality in Canvas Apps is great, but as it’s written in Power Fx, if you follow the examples given in the official material then you would need to re-deploy your app across environments to change the content. Not only is this time consuming, but it also introduces other risks if you have dependencies on other solutions.
To avoid this, we can use a trick similar to what has been used in model-driven apps with drop-down functionality for years – we can introduce a custom table to dynamically retrieve the data, and convert this functionality from configuration into data administration.
Note: I have the pleasure of being a Global Administrator with a premium Power Apps license, but not everyone will! This example uses Microsoft Dataverse, but the solution is also achievable in SharePoint and other data sources if you wish and therefore in the rest of this post I have focussed on the curation of the solution, as opposed to Dataverse understanding and navigation. This wouldn’t cause a licensing concern from Microsoft as this is entirely bespoke functionality designed to do make deployment easier and this solution will not reduce your general licensing requirements.
Create a Custom System Notification Table
I know it’s tempting, but do not head over to ‘Tables’ in https://make.powerapps.com, and head over to ‘Solutions’ instead. This will help you in the long run, as you’ll want your app to be in the same solution as your new table.
Create a new Solution to hold your components (or choose your app’s existing solution if you have already started building) and create a new Table called System Notification.

This will then create a table for you with a Primary Column called Name.
Configure the System Notification Table’s Columns
The variation you choose here is entirely up to you depending on your requirements, you could simply use just the Name column and delete entries when they are no longer relevant, or, you could create a Release Date and Expiry Date field to automatically show and hide notifications based on your filter criteria in the app. I would recommend:
- Increasing the length of Name to 250 chars
- Create a Date Only field called Release Date
- Create a Date Only field called Expiry Date
- Create a Choice field called Type with the options Information, Error, Warning, and Success

Create the Data
Now is the time to head over to Tables from your left-hand navigation, so let’s find the new System Notifications Table and amend the columns slightly so that we can add a few records for use in our app.

Introduce the Table to your Canvas App
Head back to your solution, and either create a new Canvas App or open up your existing app in Edit mode. Connect to your data, and add a new Collection into the OnStart Property of your app to retrieve your System Notifications data.

If you’re using the same naming conventions as me, you can copy the following code:
ClearCollect(ColNotif, 'System Notifications')From here you have a couple of options, and the logic for the data is similar but the construction of its presentation will be different.
You could proceed to use the Notify functionality, but the challenge is around predicting the response and engagement from the end user. If the message is important, but you have multiple that the user keeps having to dismiss, they may end up getting extremely frustrated and just click the X endlessly whilst missing the notification. Instead, we will create a gallery.
Show your Notifications Using a Gallery
Insert a new Vertical Gallery control to initially display your ColNotif Collection.
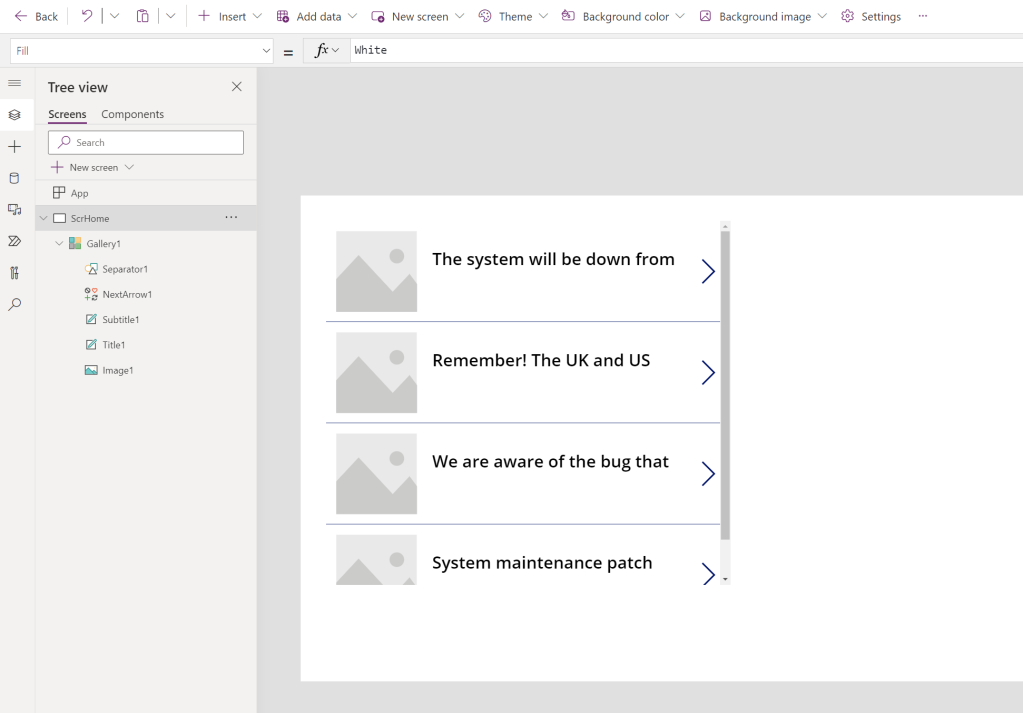
You’ll want to amend your Gallery to provide more of a bulletin-style or notification-style feel. Here are some suggestions:
- Remove the image placeholder and adjust your labels so that the Name takes up the majority of the content area.
- Add the Release Date a Label to the Gallery Item.
- Remove the chevron icon.
- Switch the scrollbar to navigation for a more modern feel.
- Make the Gallery more compact, and shift its location to the top-left or top-right of the canvas.
- Reduce the font sizes.

Quality Improvements
The bare bones of the functionality is complete! Stay tuned for part 2 where I will explain how to make use of the Columns that we configured earlier to take your notifications to the next level!

Leave a comment